At a glance
- Drone flying is prohibited inside the Geiranger-Herdalen protected landscape without an application; outside it, national aviation rules apply.[6]
- Geiranger Fjordservice buses stop for 10 to 15 minutes at viewpoints such as Eagle Bend, Flydals Canyon and Mount Dalsnibba.[4]
- A live webcam shows Dalsnibba conditions in real time, and the weather high on the mountain changes quickly.[5]
- The Flydalsjuvet viewing platform has an upper and a lower level joined by a walkway, at the inner end of the Geirangerfjord.[9]
- On the RIB safari, bring your camera in a waterproof bag in case of rain; the boat stops near the waterfalls for pictures.[4]
- Top choice Dalsnibba coach tour from US$116 Duration3.5 hoursShooting angleViewpoints above the fjord[1]GuideLive English guide[1]Rating4.61 from 2,636 reviews Check availability
- RIB fjord safari from US$95 Duration1 hourShooting angleWater level, stops by waterfalls[4]GuideLive English guide[2]Rating4.81 from 1,203 reviews See this tour
- Guided kayak tour from US$127 Duration2 hoursShooting angleWater level, from a kayak[3]GuideSmall group, English instructor[3]Rating4.54 from 205 reviews See this tour
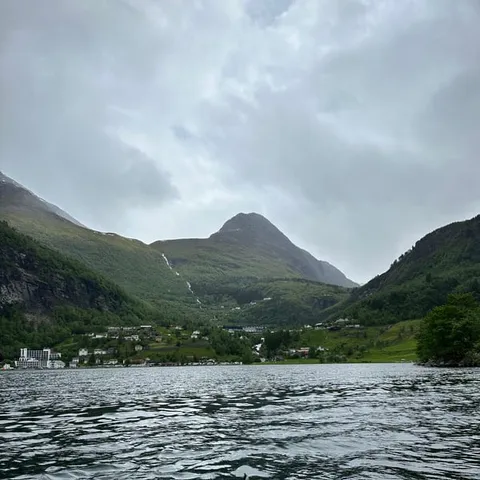
Definitely! There are plenty of great photo opportunities along the Geirangerfjord.
All use of drones (both for commercial and private use) requires an application.
Coach, RIB or kayak for your fjord photographs
Pack
Choosing a coach seat for fjord views
Seats are not numbered on the sightseeing buses run by Geiranger Fjordservice: passengers choose where to sit as they get on.[4] The tour booked from this site stops at Flydalsjuvet, Dalsnibba, Djupvatnet and Eagle Bend over 3.5 hours.[1]
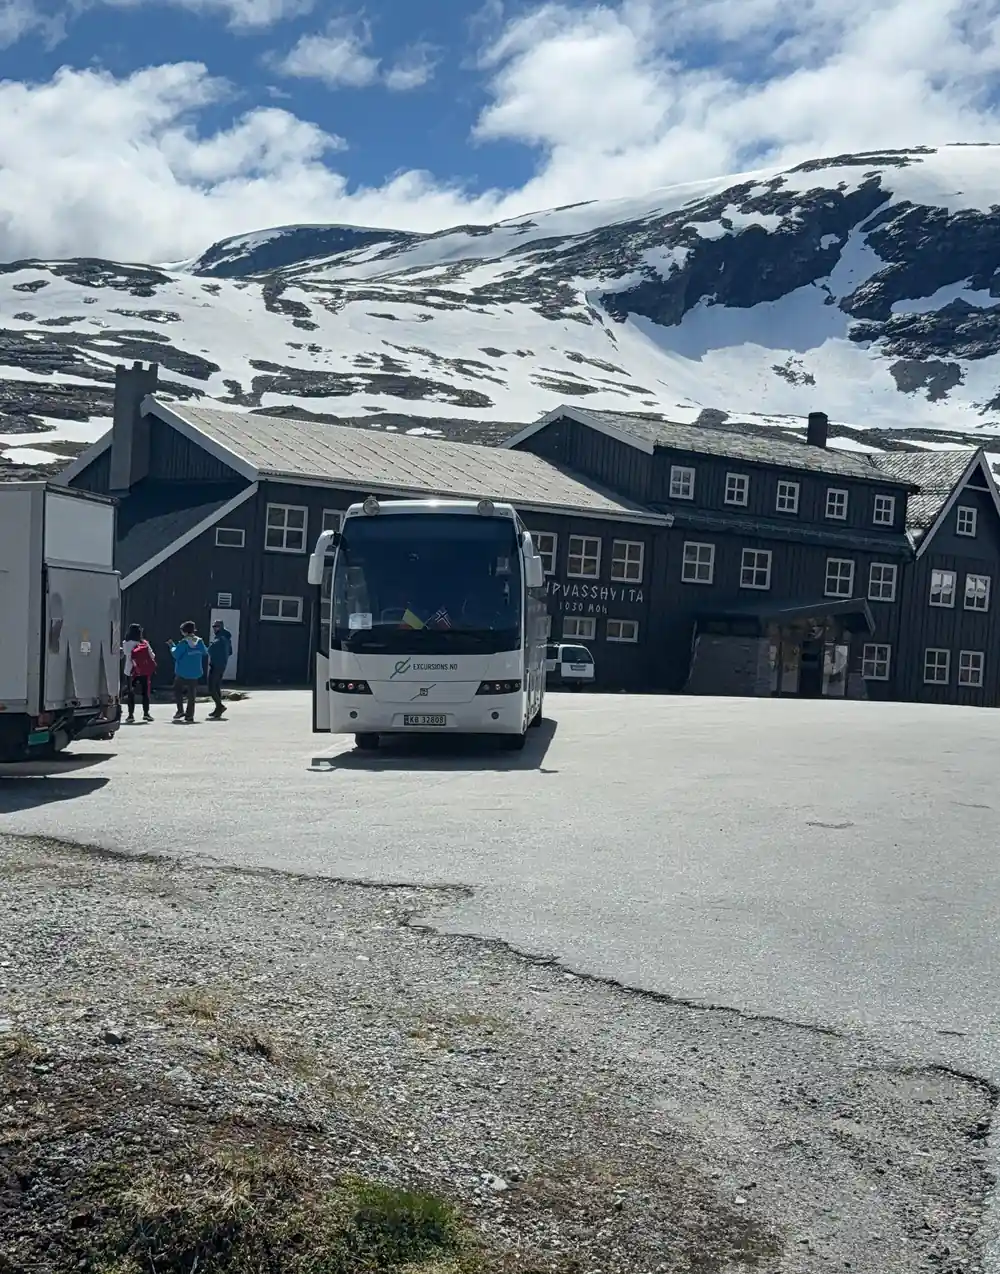
Nibbevegen, the toll road to the summit, was built in 1937 to 1939 as one of Norway's most ambitious road projects, and it gains 438 metres over 5 km through 11 hairpin bends.[5] You do not need to hike for hours to reach the view: the road runs right to the top, where you can park and step straight out onto the viewing platform.[5]
Shooting through bus windows without reflections
For photographs through a vehicle window, photographer Leanne Cole recommends a rubber lens hood pushed against the glass: it forms a seal that keeps reflections out while still letting you angle the lens. A circular polarizer also cuts reflections, although the effect depends on the angle of the light and the type of glass. Keep a firm hold on the camera, because a sudden jolt can knock it into the window.[12]
Time off the bus is short. Geiranger Fjordservice buses stop for 10 to 15 minutes at viewpoints such as Eagle Bend, Flydals Canyon and Mount Dalsnibba, with the number of photo breaks depending on the tour, and passengers are asked to be back on board on time so they are not left behind.[4]
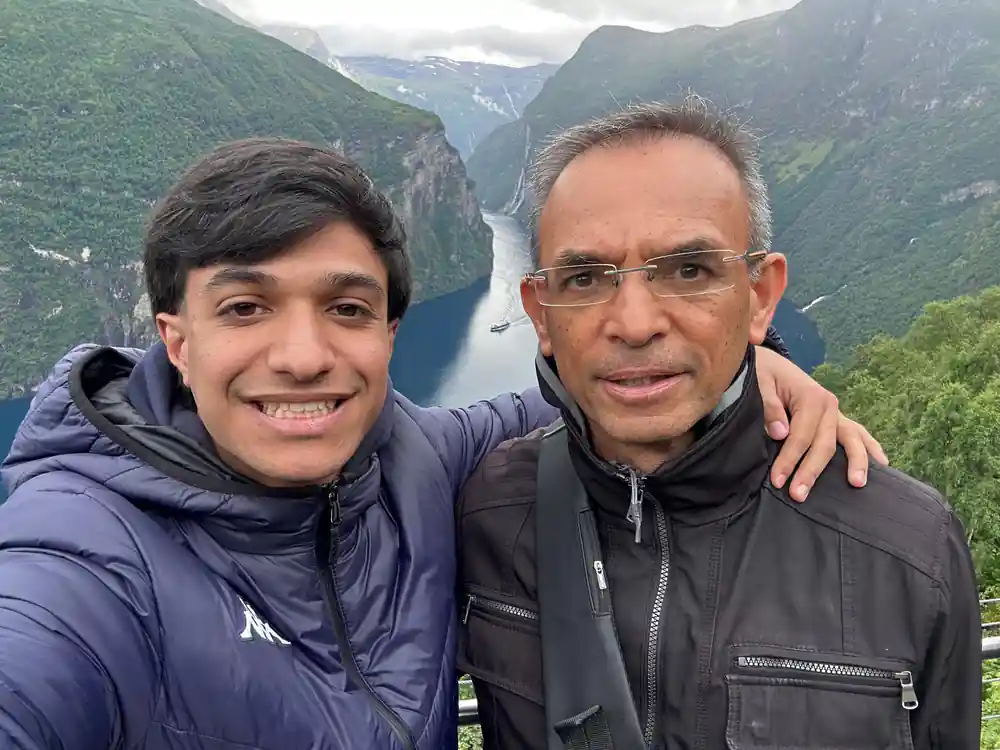
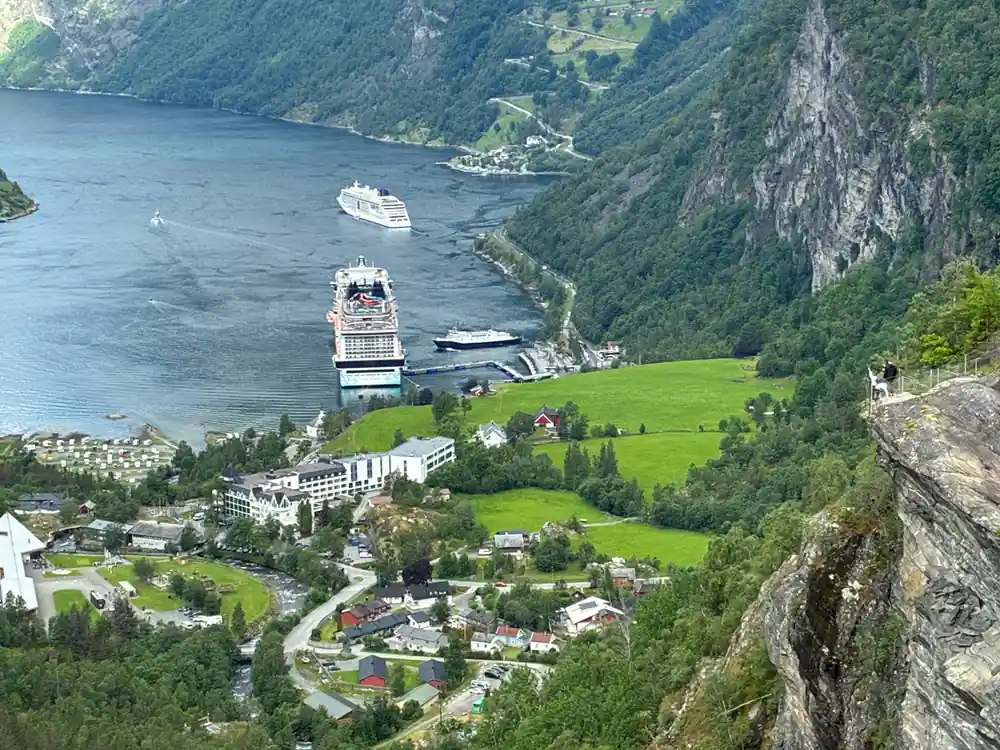
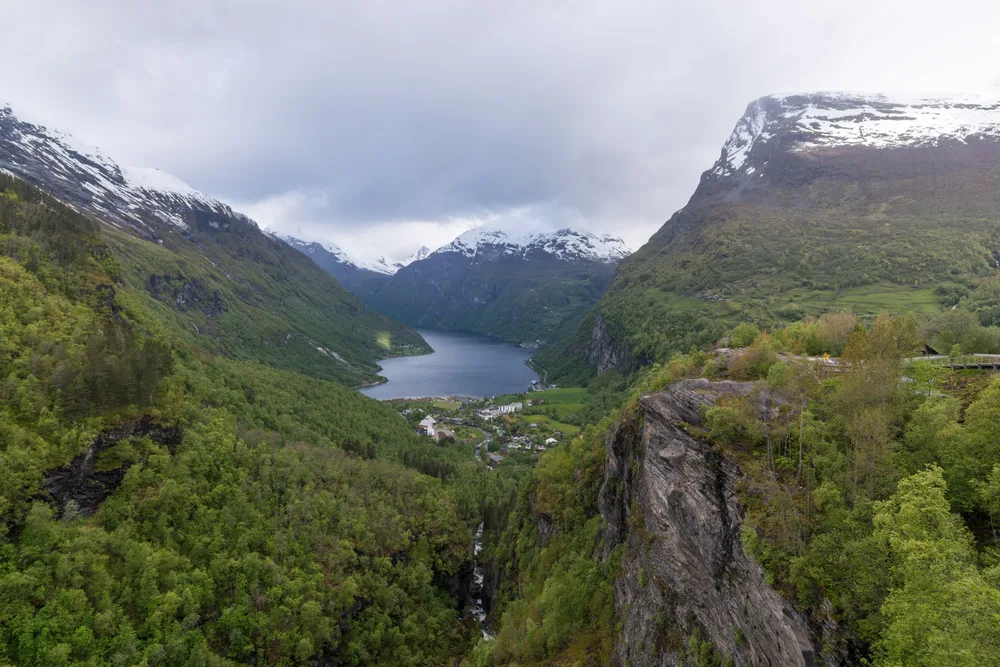
Looking down on the Geirangerfjord from the road above Geiranger
Dalsnibba Skywalk in early light and summit fog
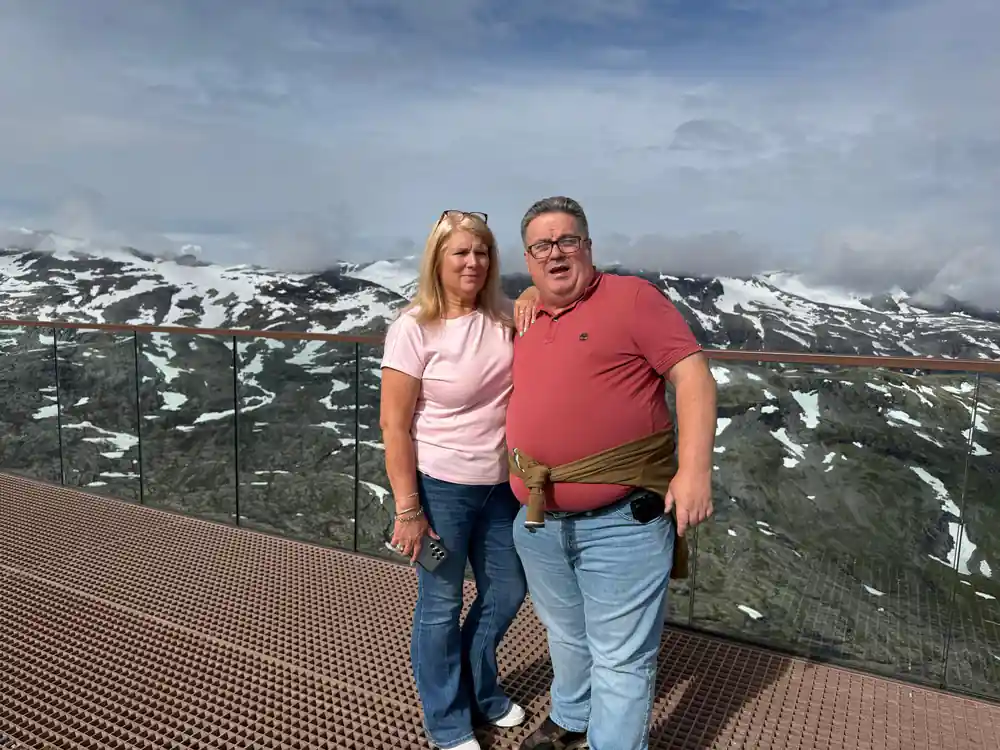
The Skywalk hangs out from the mountain, and its railing is made of glass.[11] The café and viewing platform at the summit are designed to be accessible to everyone.[5] On a sunny day you can see all the way down to the fjord, and in fog, the operator says, you walk as if inside a cloud.[5]
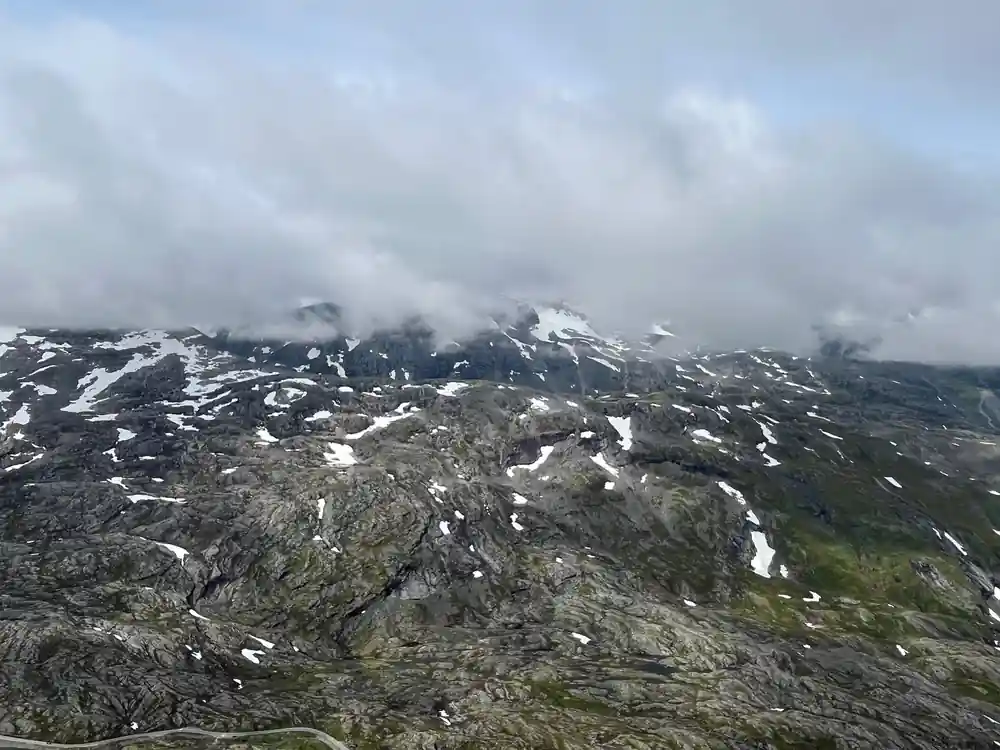
Check the Dalsnibba camera before you go: the live webcam gives conditions in real time, and the operator warns that the weather changes quickly high up, with fog sometimes lying like a veil over the fjord.[5] Snow can close the road at short notice even at the end of summer; on 9 September 2026 it was shut for snow on the carriageway.[5]
The Flydalsjuvet postcard shot and ship placement
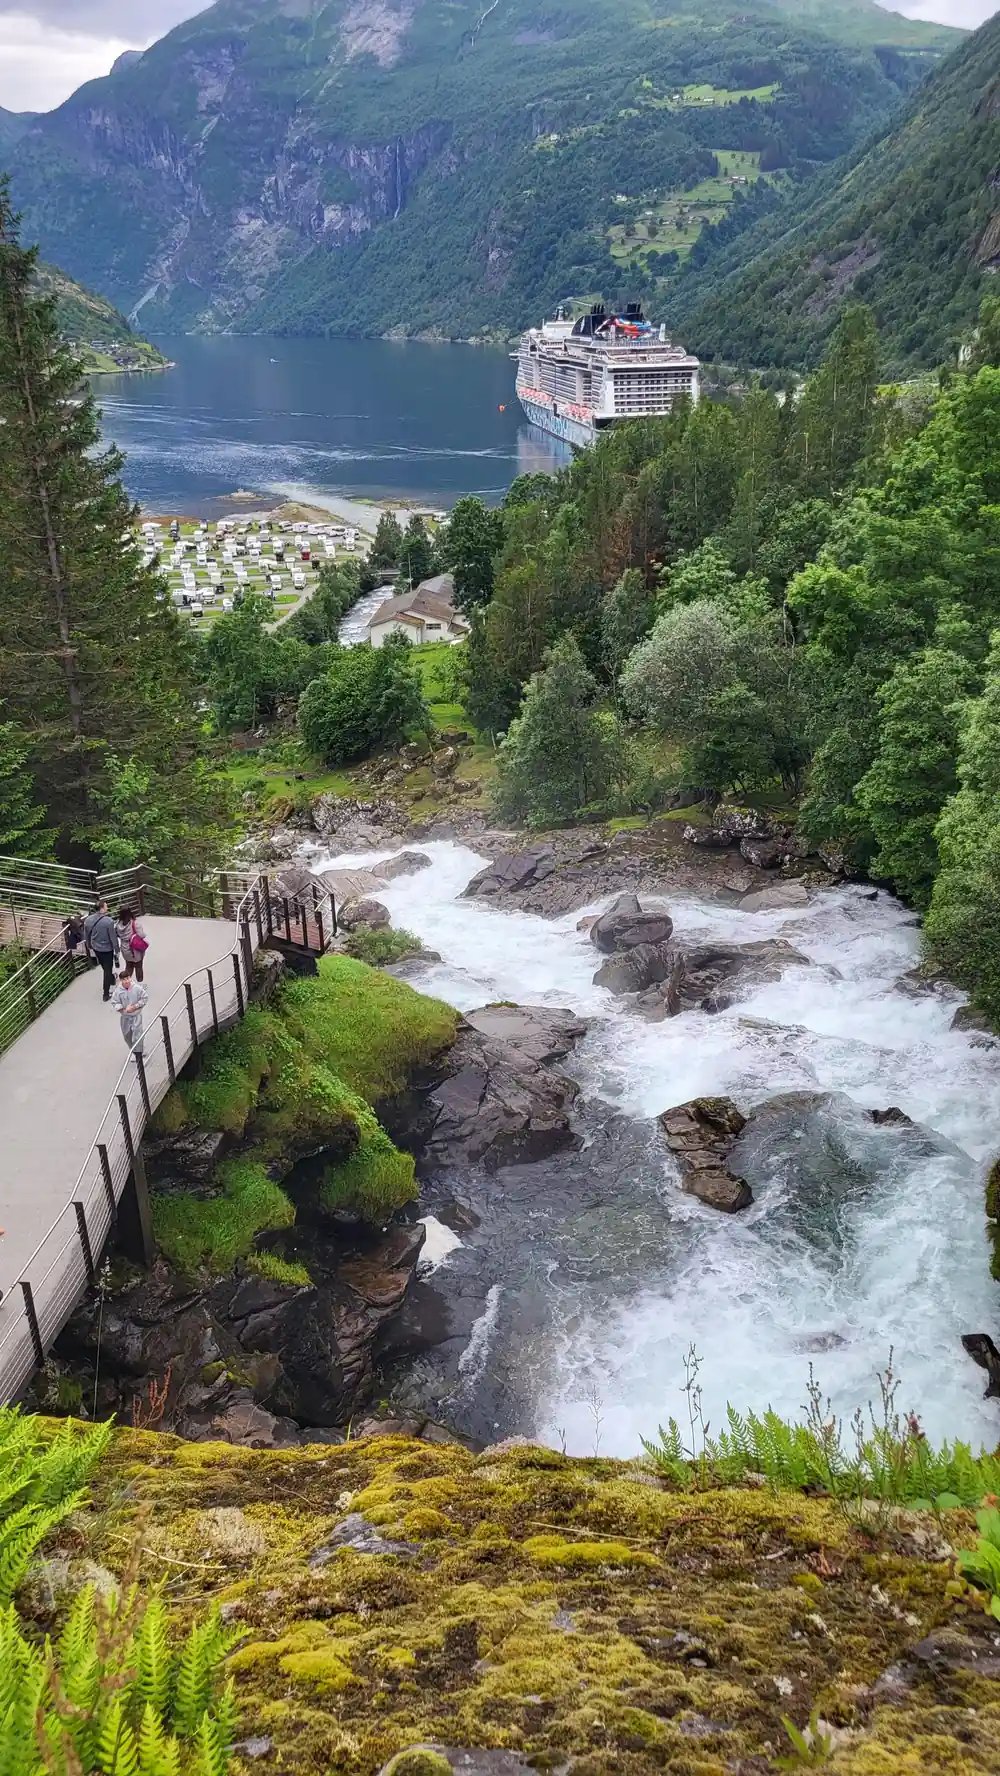
Flydalsjuvet is a gorge, and the Norwegian Scenic Routes rest area beside it is one of many locations with wide views over the Geirangerfjord. Its service building and information point were built with centuries-old timber, the toilets are open from mid-May to mid-October, and the site is partially wheelchair accessible.[9]
For Flydalsjuvet photos, the viewing platform gives you two levels to work from, an upper and a lower one joined by a walkway, beside the steep mountainside at the inner end of the Geirangerfjord. From here you can also frame the 1,502-metre Laushornet and the 1,629-metre Eidshornet.[9]
11
In the main season the Dalsnibba road is open around the clock, and the Skywalk is available for sunrise and sunset.[5][11]
Video and drone regulations at each stop
Drone flying is prohibited inside the Geiranger-Herdalen landscape protection area without an application to its protection board; outside it, including Geiranger village, the Civil Aviation Authority's rules apply.[6] Those rules start with registration: EU visitors register at home, others in the first EU country or Norway where they fly, and camera use must also be registered with the National Security Authority.[8] The drone must stay within 120 metres of the nearest point of the earth and in your line of sight, and no drone may fly over assemblies of people.[7] For fjords video from the air, check the zone map at dronesoner.no before take-off.[8]
In the open category a drone must weigh less than 25 kg and carry the operator's registration number. Flying at night is allowed as long as you can still see the drone, with a green flashing light mounted underneath it.[7] The A1/A3 course and exam are available in English at flydrone.no.[8]
Timing on the clock, and photos from the water
If you go up to the summit on your own, plan around its hours. The Geiranger Skywalk shop and café open from 09.30 to 18.00 between 15 June and 14 August, and from 09.30 to 17.00 from May to 14 June and from 15 August into October.[11] The season opens once the road has been cleared of snow in the last half of May, and closing depends on the weather, usually in late September.[11]
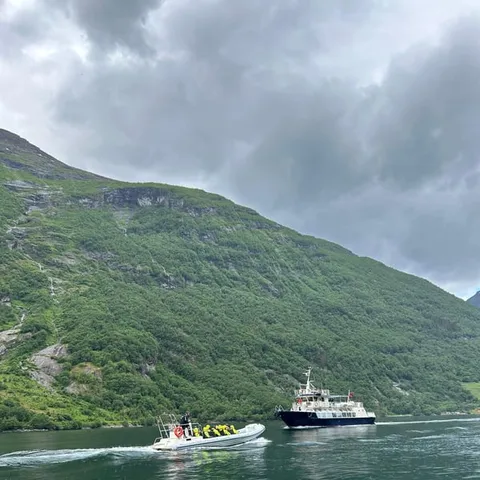
For Geiranger images from the water, the RIB safari spends about 45 minutes on the fjord and makes a couple of stops close to the waterfalls so passengers can take pictures. In rain, the operator recommends carrying your camera in a waterproof bag.[2][4]
Dalsnibba at sunrise and sunset, and the view from Ørnesvingen
A Dalsnibba sunset is within reach outside tour times, because in the main season the road is open around the clock and the Skywalk is available at all hours for sunrise and sunset.[5][11] Early and late in the season the road closes at night, and the season usually runs from mid May to September.[5]
To drive up yourself, a toll ticket for a car costs from NOK 380, the gate is staffed from 9.00 to 17.00, or to 18.00 between 15 June and 15 August, and at other times an outdoor payment terminal takes the toll.[5][11] The road, Nibbevegen, climbs from Djupvatnet at 1,030 metres through 11 hairpin turns, and the Skywalk railing is made of glass.[11]
If the one fjords pic you want includes the Seven Sisters, Ørnesvingen is the viewpoint to use. The viewing point sits at the top of the eleven hairpin bends of Ørnevegen, and from there the view opens towards Geiranger, across the Geirangerfjord to the Seven Sisters waterfalls and the Knivsflå mountain hamlet.[10]
How long each option lasts
Booked duration in minutes, from each tour's GetYourGuide listing.[1][2][3]
Price a photo day on the Geirangerfjord
Every figure is a "from" price for one adult and not a quote. Child prices may differ, so check the listing for your own party before you book.
When to plan your fjord photos
Planning your fjord photos
Choose height or water level
The coach reaches the viewpoints above the fjord; a RIB or kayak keeps you at water level.[1][2][3]
Check the Dalsnibba webcam
The live webcam shows summit conditions, and the weather high up changes quickly.[5]
Register before you fly
Register as an operator, mark the drone with your number, and register camera use before flying.[8]
Know the protected area
Drone use inside the Geiranger-Herdalen protected landscape needs an application.[6]
Use every stop
Viewpoint stops on Fjordservice buses last 10 to 15 minutes, so be back on board on time.[4]
Take your camera to Flydalsjuvet, Dalsnibba and Eagle Bend
from US$117Reserve now & pay later